Preparing your roof for an inspection is essential for ensuring that any potential issues are identified early and that the roof remains in good condition. Roof inspections are key for maintaining your home's or building's structural integrity. Whether preparing for a routine inspection or needing to address specific concerns, taking the right steps beforehand can help you understand the process and make the inspection smoother for everyone involved. We will explore the practical steps to prepare your roof, the key areas that will be assessed, and the benefits of proper preparation.
Ensure Safe Access to the Roof
One of the first steps in preparing your roof for an inspection from Galvan Roofing and Construction is to ensure safe and clear access. If the roof is accessible via a ladder, ensure the ladder is stable and placed on firm, level ground. If your roof is flat or low-pitched, an inspector may be able to access it directly without much equipment, but ensuring clear paths around the area will prevent delays. Additional safety equipment like harnesses and safety ropes may be required for steep or high-pitched roofs. If you have a roof with a hatch or stairs leading to it, inspect the opening for any obstructions or damages. By preparing safe access, you help the inspector complete their job efficiently while avoiding unnecessary risks or accidents.
Clear the Surrounding Area
Before the inspection begins, take a walk around the perimeter of your house and remove any obstacles that might block access to the roof. This includes trimming tree branches that hang near or over the roof, which can obstruct the inspector's view or cause potential hazards. Remove any ladders, patio furniture, or other items that might be in the way. If electrical lines run near the roof, notify the inspector beforehand. A clear path helps to streamline the inspection process and ensures the inspector can reach all parts of the roof without unnecessary delays or concerns about safety.
Inspect the Interior for Leaks or Damage
Although the focus of a roof inspection is on the exterior, it's also important to check the interior of your home for signs of leaks or water damage that could indicate a problem with your roof. Examine the attic or any crawlspaces for signs of moisture, mold, or water stains on beams, insulation, or ceilings. Leaks inside your home can often be traced to specific areas of the roof, and identifying these issues beforehand can give the inspector a clear direction in locating the source. Document any signs of water damage and note their location, as this will help the inspector address potential issues.
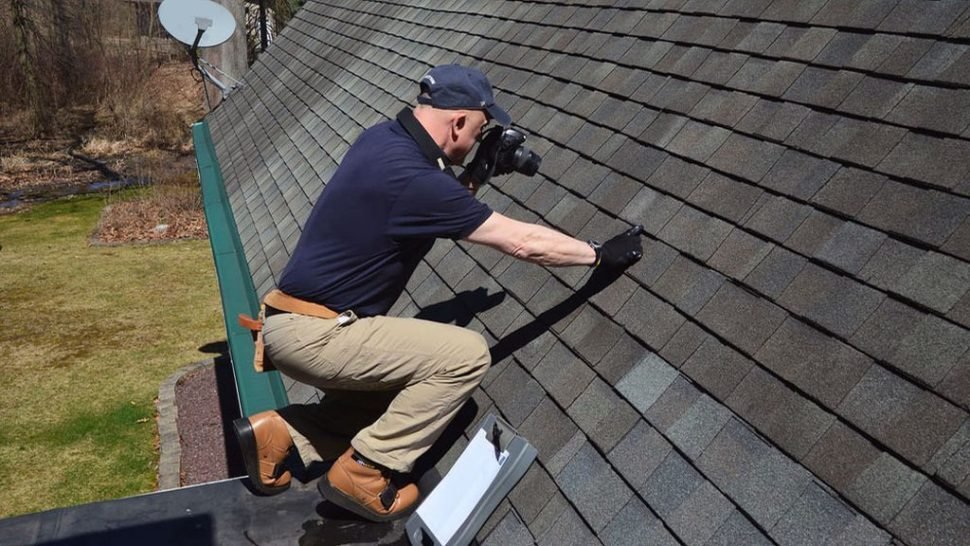
Check for Visible Signs of Damage
Before the roof inspection, take the time to inspect your roof from the ground visually. Use binoculars if necessary to closely examine the roof's condition. Look for signs of visible damage, such as missing or cracked shingles, curled edges, or debris accumulation. Pay attention to the flashing around chimneys, vents, and skylights, as these areas are common sources of leaks. If you spot anything that appears damaged or out of place, note it. This information will help the inspector focus on these areas, making the inspection more efficient. Also, remember that some roof issues, such as small holes or minor cracks, may not be visible from the ground, so a professional inspection is still crucial.
Document Previous Repairs or Upgrades
If you've had any recent repairs or upgrades done to your roof, it’s important to document them and share this information with the inspector. Records of past repairs, replacements, or any improvements can help the inspector better assess the roof's condition. For example, if new shingles were installed, it would give the inspector a sense of the roof's age and lifespan. Likewise, if certain roof sections have been repaired, the inspector can check the integrity of those areas more closely. Keeping a file of all roofing-related documents will make the inspection process smoother and help you keep track of the maintenance history of your roof.
Prepare the Roof's Surface
Cleaning the roof before an inspection can be a helpful step in preparing for the process. While you don’t need to go overboard with a thorough cleaning, removing large debris such as leaves, branches, and dirt from the roof will give the inspector a clearer view of its condition. Clearing debris from the gutters is particularly important, as clogged gutters can cause water damage and are often a sign of a poorly maintained roof. If you have moss, algae, or lichen growth on your roof, it’s worth mentioning to the inspector, as these can contribute to the deterioration of roofing materials. A clean roof allows the inspector to evaluate its surface thoroughly and identify areas needing attention.
Preparing your roof for an inspection is a practical step toward maintaining its health and longevity. Ensuring safe access, clearing the area, checking for signs of damage, and documenting previous repairs contribute to a more efficient and effective inspection process. Understanding what the inspector will focus on and being ready to address any issues further helps maintain your roof's condition. Regular roof inspections can prevent costly repairs and ensure that your roof protects your home for years.